In this guide, I’ll show you how to grow hydrangeas, a favorite plant known for its beautiful flowers. You’ll learn how to multiply your plants or start new ones. I’ll share tips on taking cuttings, layering, and dividing to make you a pro at growing these lovely plants.
Key Takeaways
- Learn the different techniques for propagating hydrangeas, including cuttings, layering, and division.
- Discover the optimal timing and conditions for successful hydrangea propagation.
- Understand the benefits of growing your own hydrangeas from existing plants.
- Receive tips on caring for newly propagated hydrangeas to ensure their healthy growth.
- Identify and address common problems that may arise during the propagation process.
What Are Hydrangeas and Why Propagate Them?
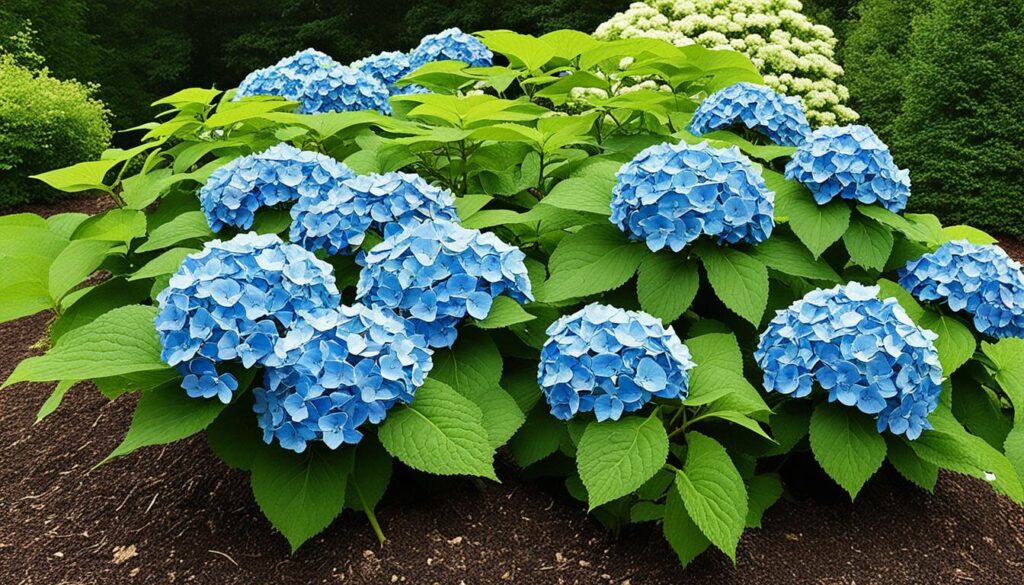
Hydrangeas are beautiful flowering shrubs loved by gardeners everywhere. They are known for their large, colorful blooms in pink, blue, purple, and white. These plants add beauty to gardens, fitting well in borders, hedges, containers, and cut flower arrangements.
The Beauty and Versatility of Hydrangeas
Hydrangeas are garden stunners, with vibrant flowers that bloom from summer to fall. They vary in size, fitting any garden size. They also grow well in sun or shade and in many soils.
Benefits of Propagating Your Own Hydrangeas
- Create new plants at no cost: Propagating your own hydrangeas allows you to multiply your collection without having to purchase new plants.
- Preserve your favorite varieties: By propagating your favorite hydrangea cultivars, you can ensure that you’ll always have access to the specific colors and forms you love.
- Share with friends and family: Propagating hydrangeas is a great way to share the beauty of these plants with your loved ones, spreading the joy of gardening.
Propagating hydrangeas is rewarding and saves money. It lets you enjoy these beautiful plants in your garden. By learning about hydrangeas and their benefits, you can grow a lovely hydrangea collection.
“Hydrangeas are the ultimate summer flower, with their large, showy blooms that seem to capture the essence of the season.”
Choosing the Right Time and Method for Propagation
Choosing the right time and method for propagating hydrangeas is key. The best time to propagate hydrangeas changes with the type of hydrangea and your local climate. Also, the hydrangea propagation methods you pick depend on your goals and what you have.
The best time to propagate hydrangeas is usually in the spring or early summer. This is when the plant is growing the most. It lets new cuttings or divisions get their roots and get ready for the next season.
| Propagation Method | Best Time to Propagate |
|---|---|
| Cuttings | Spring or early summer |
| Layering | Spring or early summer |
| Division | Early spring or late fall |
When picking a way to propagate hydrangeas, think about the type of hydrangea, your gardening skills, and what you have available. Cuttings and layering let you make new plants from ones you already have. Division is great for splitting big plants.
“The key to successful hydrangea propagation is understanding the unique needs and characteristics of each method.”
By exploring the best time and method for propagating hydrangeas, you can boost your chances of growing healthy, thriving new plants for your garden.
Propagating Hydrangeas from Cuttings
Propagating hydrangeas from cuttings is a popular and effective method. By selecting, preparing, and rooting hydrangea cuttings, you can grow more plants. This guide will help you through the steps for successful hydrangea propagation from cuttings.
Preparing the Cuttings
First, pick healthy, strong hydrangea stems that are 6 to 8 inches long. Choose stems that haven’t flowered yet as they root better. Use clean, sharp pruners to cut just below a leaf node, leaving two sets of leaves on the cutting. Then, remove the lower leaves, keeping only the top set.
- Select healthy, non-flowering hydrangea stems that are 6-8 inches long.
- Make a clean cut just below a leaf node, using sharp, sterilized pruners.
- Remove the lower leaves, leaving only the top set of leaves on the cutting.
Rooting the Cuttings
Now, let’s encourage root growth. Dip the cut end into rooting hormone powder or gel to help new roots form. Plant the cuttings in a potting mix or a mix of perlite and vermiculite. Press the soil gently around the cutting to make sure it contacts well.
- Dip the cut end of the cutting into a rooting hormone powder or gel.
- Plant the cuttings in a well-draining potting mix or perlite/vermiculite mixture.
- Firm the soil around the base of the cutting to ensure good contact.
To keep the cuttings moist and prevent drying, cover with a clear plastic bag or use a propagation tray with a humidity dome. Keep the soil moist but not too wet. Place the cuttings in a spot with bright, indirect light.
With patience and the right conditions, your hydrangea cuttings should root in 4 to 6 weeks. Once roots have formed, you can move the cuttings to bigger containers or directly into your garden. They will continue to grow and flourish there.
Plant Propagation: Propagating Hydrangeas from Layering
Looking to grow more hydrangeas? Layering is a great way to do it. This method lets you make new plants from the ones you already have. You don’t need special tools or hard steps. We’ll cover simple and advanced layering methods so you can pick what works for you.
Simple Layering Technique
The simple layering method is easy and works well. Choose a healthy, short stem from your hydrangea plant. Bend it down and hold it in the soil with a rock or soil. This lets a part of the stem root.
Keep the soil moist and the stem held down until roots form. This can take weeks or months, based on your plant and the weather.
Air Layering Technique
Air layering is a bit more complex but effective for hydrangeas. It makes a moist, root-friendly spot on the stem without burying it. Pick a healthy stem and cut just below a leaf node. Wrap it with damp sphagnum moss, then seal it in a plastic bag or rooting medium. Use wire or tape to keep it in place.
After a few weeks, roots will grow in the moss. Once roots are strong, you can move the new plant to a new spot.
Both simple and air layering are good for growing hydrangeas. Learning these methods lets you make new plants that look just like the originals. This way, you can enjoy more of these lovely flowers in your garden.

Propagating Hydrangeas from Division
Dividing the root system is a simple way to grow more hydrangeas. It’s great for plants that are already big. By doing this, you can make more plants from one you already have. Sharing these beautiful flowers with others is a nice bonus.
Knowing when and how to divide hydrangeas is key. Let’s go through the steps to divide them and help them grow well.
The Best Time to Divide Hydrangeas
The best time to divide hydrangeas is early spring, when they start to grow again. This lets the new plants get strong roots before summer. Don’t divide them in the summer or fall, as they might not do well.
How to Divide Hydrangeas
- Gently dig around the hydrangea plant, being careful not to hurt the roots.
- Lift the whole plant out of the ground, keeping the roots together.
- Use a sharp tool to cut the roots into sections, making sure each has roots and leaves.
- Plant the sections right away, and water them well to help them settle.
Make sure to plant the hydrangeas at the same depth as before. Water them often until they’re strong. With the right care, your new hydrangeas will grow well and bloom beautifully.
Transplanting Divided Hydrangeas
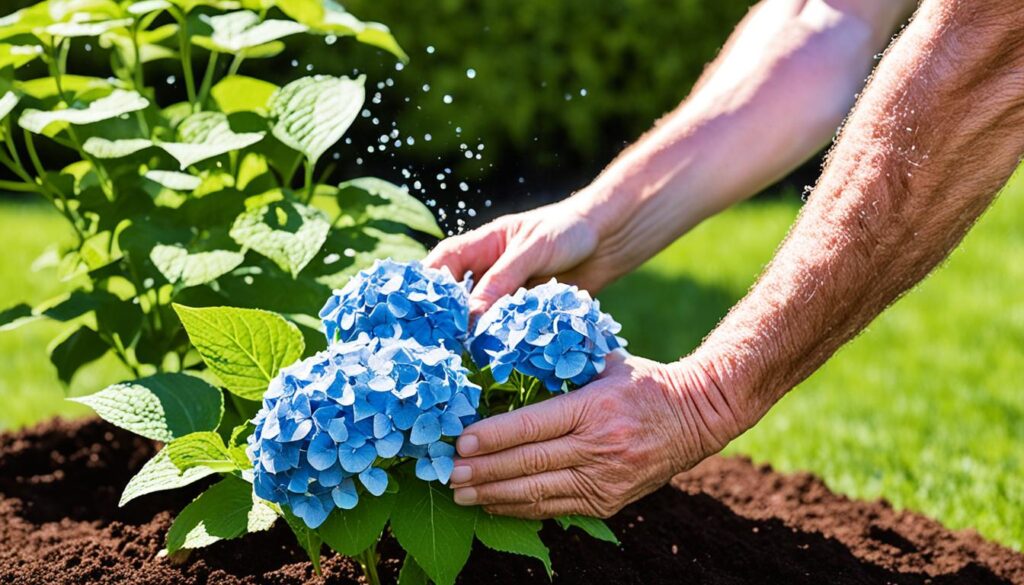
Choose a spot with good drainage and the right amount of sun for your hydrangeas. Add compost or organic matter to the soil before planting. Put the plant in the hole and fill it with soil, but don’t put it too deep.
Water the plants well after planting and keep an eye on their moisture. With patience and the right care, your hydrangeas will thrive and look great for many years.
Caring for Newly Propagated Hydrangeas
Congratulations! You’ve successfully propagated your own hydrangeas. Now, it’s time to make sure they grow well. Proper care is key for their health and blooms. We’ll cover watering, sunlight, fertilizing, and pruning tips here.
Watering and Sunlight Needs
New hydrangeas need regular water to grow strong roots and lush leaves. Keep the soil moist but not too wet. Water them once or twice a week, depending on the weather and soil.
Hydrangeas love sunlight, but the amount varies by type. Most need 4-6 hours of direct sunlight daily. Make sure your plants get the right amount of sunlight.
Fertilizing and Pruning Tips
- Fertilize your hydrangeas in spring and early summer with a balanced, slow-release fertilizer. This helps them grow and bloom well.
- Prune your hydrangeas in late winter or early spring, before new growth starts. Cut off dead or damaged stems and shape the plant as you like.
- Don’t prune too much, as it can stop the plant from flowering. Just remove what’s needed to keep your hydrangeas looking good.
Follow these easy tips for your newly propagated hydrangeas. You’ll get vibrant, healthy plants that will make you happy for years.

Common Problems and Troubleshooting
Propagating hydrangeas can be rewarding but has its challenges. You might face a few common issues. This section will cover these problems and how to fix them. This will help make your hydrangea propagation successful.
Identifying and Addressing Issues
One big issue is poor rooting. If your cuttings or layers don’t develop roots, the new plants may not do well. Watch for signs like wilting or slow growth. If you see these, try using a rooting hormone or keeping the soil moist.
Wilting or dehydration is another problem. Hydrangeas need the right amount of water. Make sure to check the soil often and water more when it’s dry or hot.
Disease can also affect hydrangeas. Look out for signs like powdery mildew or leaf spots. If you find disease, treat it quickly with fungicides or by removing bad leaves.
By watching closely and fixing these issues, you can overcome hydrangea propagation problems. This way, you can enjoy growing your own hydrangeas.
“Successful propagation is all about paying attention to the little details and responding quickly to any issues that arise. With a little patience and the right approach, you can overcome even the most stubborn propagation problems.”
Conclusion
Propagating hydrangeas is a rewarding experience for gardeners. By learning how to take cuttings, layer stems, and divide roots, you can grow more of these beautiful plants. This way, you’ll enjoy their lovely flowers for many years.
To succeed in propagating hydrangeas, focus on timing and choose the best method for you. Also, take good care of your new plants. With patience and care, you can grow a beautiful collection of hydrangeas that will impress everyone.
If you want to grow your garden or share hydrangeas with others, this guide has everything you need. So, start propagating and create a beautiful garden with hydrangeas. Get ready to enjoy a lush, colorful landscape filled with the beauty of hydrangeas.
